The Priority Member feature allows extra assignments to be allocated to selected users. Here are a few common use cases for when you might add a user as a priority member:
- A sales rep is assigned a junk lead (e.g., spam, test record, etc.) and you want to compensate them with an additional lead.
- A sales rep is assigned a lead that another sales rep was already working on and requests compensation for an additional lead.
- A mistake with weights, scheduling, or other settings resulted in a sales rep missing out on leads for a period of time.
When a router assigns a record, priority members are first considered for assignment. If a priority member has a “Ready” status, they will receive the assignment. Otherwise, they will be skipped.
Adding Priority Members
Follow these steps to add one or more priority members to a router:
- Navigate to a router and click the Priority Members tab.
- Click the Add Priority Member button.
- Select a member and click Save.
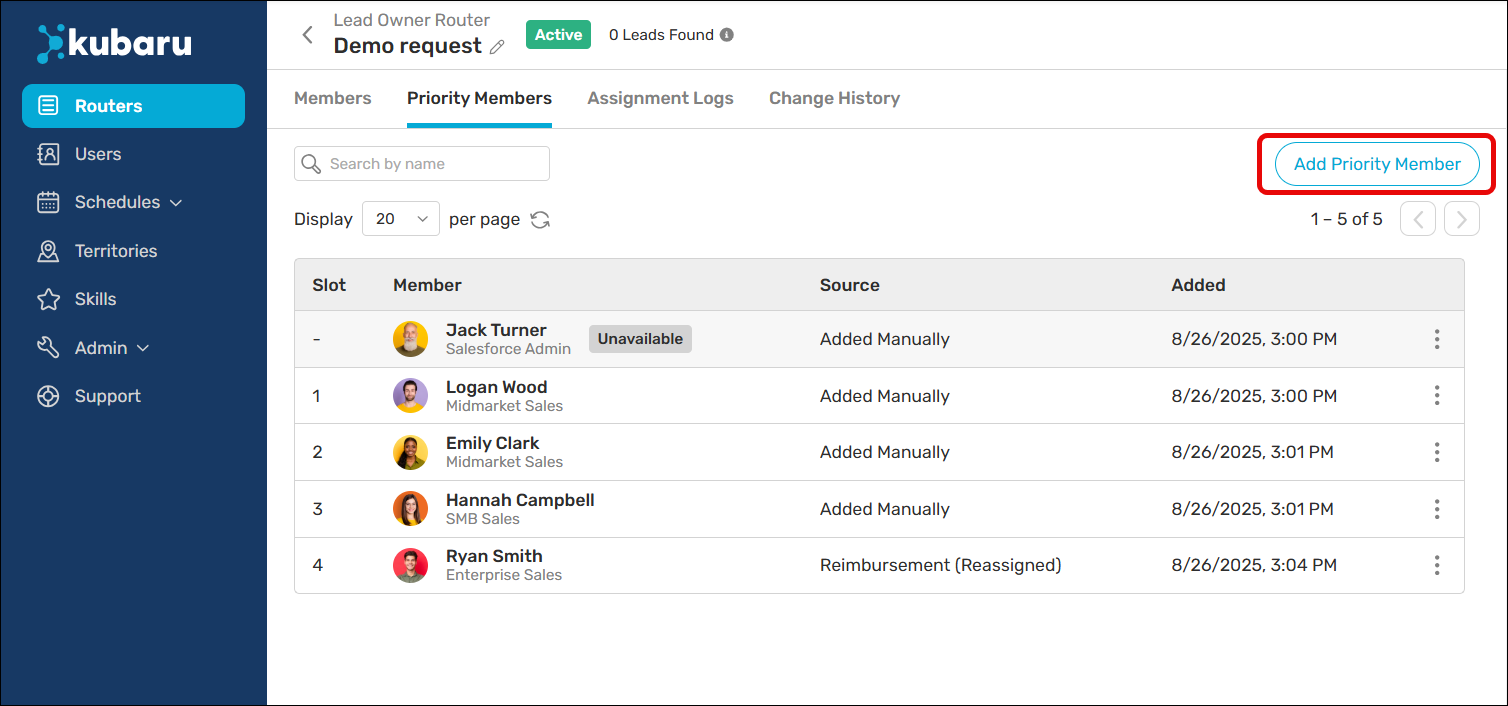
Priority members will appear with Source set to “Added Manually”.
Removing Priority Members
You can remove priority members by following these steps:
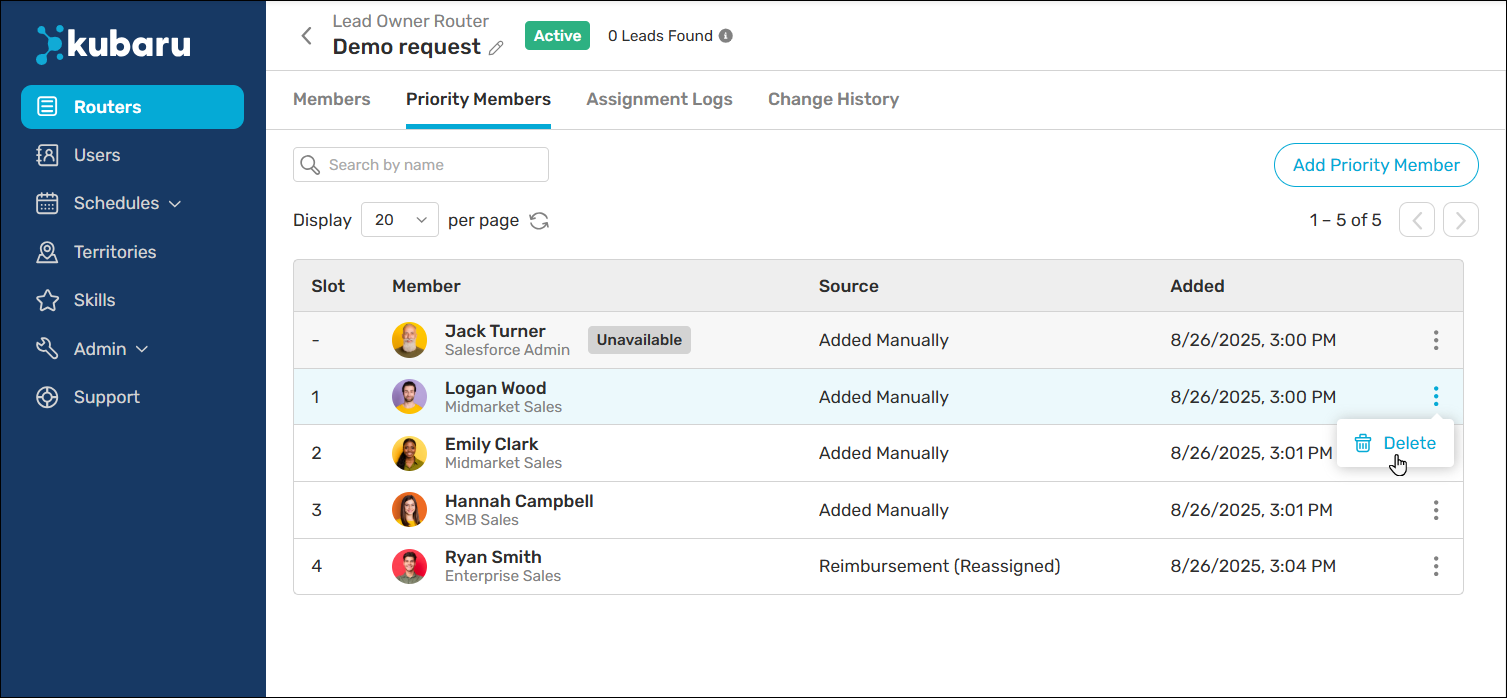
- Navigate to a router and click the Priority Members tab.
- Expand the Action Menu for the priority member you want to remove and click Delete.
Things to keep in mind