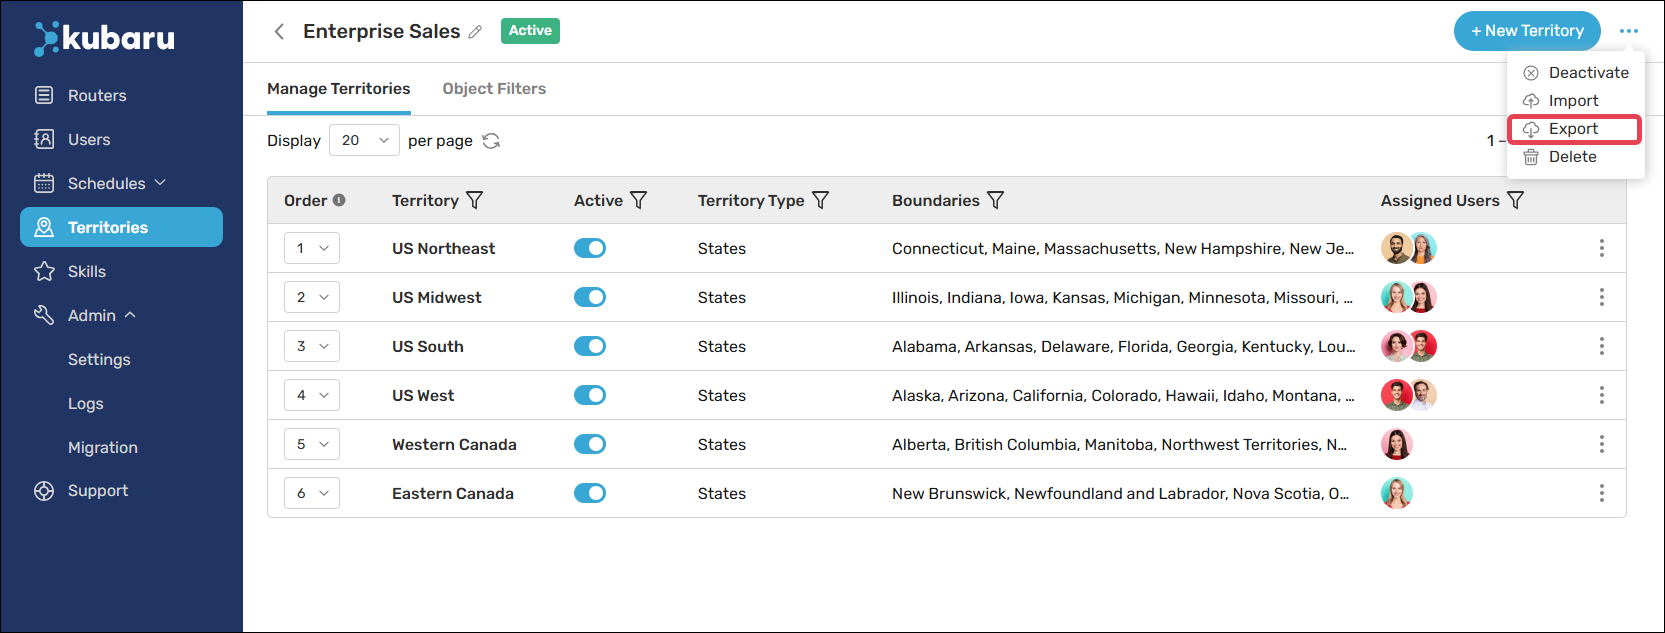
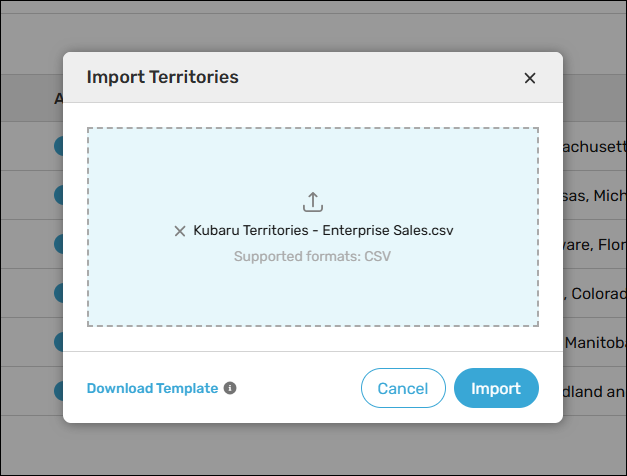
Click on the Action Menu in the top right corner and select Import.
Select a CSV to import.
Click Import.
You’ll receive a result file after the import has been completed. For larger imports, the result file will be emailed to you.
Things to keep in mind
We recommend saving your CSV with UTF-8 encoding before importing to ensure special characters are formatted correctly.
Multiple values can be separated by either a comma or a line break for the following columns: Countries, States, Zip/Postal Codes, Other, and Assigned Users.
It’s not uncommon for some territory criteria (e.g. Zip/Postal Codes) to exceed the maximum cell size in Excel. If this is the case, you can add multiple rows with the same territory name, and the importer will automatically combine this data.
For columns that do not contain long data such as Evaluation Order and Active, only the first value will be kept in cases where two or more rows share the same territory name.
Assigned Users can be added to the “Assigned Users” column by full name, email address, Salesforce username, or Salesforce User ID.
If a territory contains data that exceeds the max character limit for a cell in Excel, the data will automatically be split into multiple rows.
Was this article helpful?
Schedule Demo
Fill out the form below and we’ll respond in a few minutes
* We take privacy seriously. We will never sell or share your personal information with anyone.